Tuesday, June 23, 2009

Official F*ck count of the linux 2.6.30 kernel

Yesterday I downloaded and compiled the 2.6.30 linux kernel source from http://kernel.org/. After booting from the newly compiled kernel I thought of counting the "Official Fuck Count" of the 2.6.30 kernel.

Here's the result:

[vijaush@pheonix linux-2.6.30]$ find . -exec grep -i fuck {} \; -print
* (And this is the fucking 'basic' method).
./net/ipv4/netfilter/nf_nat_snmp_basic.c
/* Fuck, we are miserable poor guys... */
./net/core/skbuff.c
/* If you fuck with this, update ret_from_syscall code too. */ \
./arch/sparc/include/asm/system_64.h
/* XXX Fucking Cypress... */
./arch/sparc/kernel/head_32.S
/* Some BIOS's are fucked and don't set all MTRRs the same! */
./arch/x86/kernel/cpu/mtrr/generic.c
* Some Athlon laptops have really fucked PST tables.
./arch/x86/kernel/cpu/cpufreq/powernow-k7.c
* fucking with the memory controller because it needs to know the
./arch/mips/sgi-ip22/ip22-setup.c
* IOC3 is fucked fucked beyond believe ... Don't even give the
* IOC3 is fucked fucked beyond believe ... Don't try to access
* IOC3 is fucked fucked beyond believe ... Don't even give the
* IOC3 is fucked fucked beyond believe ... Don't try to access
* IOC3 is fucked fucked beyond believe ... Don't even give the
* IOC3 is fucked fucked beyond believe ... Don't try to access
* IOC3 is fucked fucked beyond believe ... Don't even give the
* IOC3 is fucked fucked beyond believe ... Don't try to access
./arch/mips/pci/ops-bridge.c
/* master list of VME vectors -- don't fuck with this */
./arch/m68k/include/asm/sun3ints.h
/* Fucking broken ABI */
./arch/parisc/kernel/sys_parisc.c
* What the fuck is going on here? We leave junk in the beginning
./sound/oss/opl3.c
case XFS_BTNUM_MAX: ASSERT(0); /* fucking gcc */ ; break; \
./fs/xfs/xfs_btree.h
/* Only Sun can take such nice parts and fuck up the programming interface
/* This card is _fucking_ hot... */
./drivers/net/sunhme.c
* These chips are basically fucked by design, and getting this driver
./drivers/ide/cmd640.c
registered, to prevent the link/init ordering from fucking
./drivers/mtd/mtd_blkdevs.c
* brain-damage, it's managed to fuck things up one step further..
./drivers/watchdog/shwdt.c
/* Am I fucking pedantic or what? */
./drivers/scsi/qlogicpti.h
BUG? Why does turning the chroma comb on fuck up color?
./drivers/media/video/bt819.c
* Wirzenius wrote this portably, Torvalds fucked it up :-)
./lib/vsprintf.c
[vijaush@pheonix linux-2.6.30]$


That's total of 32 count in 19 files.


Also have a look at this site http://www.vidarholen.net/contents/wordcount/. It has a graph of all the swear words used in the linux kernel.

Monday, June 22, 2009

Logging into Fedora 11 as the root user

Today i tried to log into my system as the 'root' user and GDM will not allow me to log into the system. Looks like that GDM does not allow root user to log into the GUI mode.

To overcome this limitation, you can edit the /etc/pam.d/gdm-password file and comment the line saying:

auth required pam_succeed_if.so user != root quiet


That's it, restart the GDM and login as 'root' user.

Friday, June 12, 2009

Google suggestion

Recently I was searching for a "How to" on LFS (Linux From Scratch), so I opened up http://www.google.com and typed in the following keywords "How to" and here's what Google suggestion came up with first.


I am preety sure, I know that !!! *LOL*

Thursday, June 11, 2009

Installing Mac OS X on PearPc

hey,
It has been really long since I have written anything in here.
Recently while I was surfing the Internet, I came across this site http://pearpc.sourceforge.net/ . Its an emulator for PowerPC computers. The screen shot of MAC running on it is really nice, so I thought to give it a try; and I was successful in installing the same.

Here's what you will need to install MAC on PearPC emulator.

1.Mac OS X DVD image.
2.PearPC emulator ( http://pearpc.sourceforge.net/ or http://www.pearpc.net/ )
Note: I first tried to compile the source packages downloaded from http://pearpc.sourceforge.net/ but they would not compile properly. You need to apply a patch for it. The packages from http://www.pearpc.net/ are good to start as they already contain the binary and a GUI to configure the virtual machine.

After having the required components, lets get started:

Firstly create a 6 GB file using the 'dd' command in Linux or using the GUI from the PearPC.net package. This file will server as the 'disk' for the virtual machine.

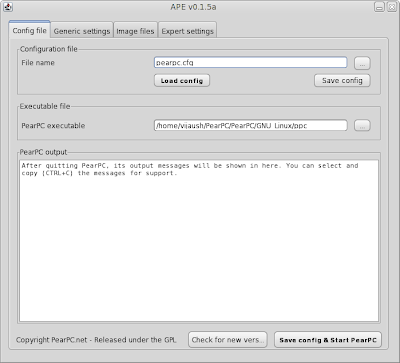
Next we will use the associated GUI ($ java -jar APE.jar or you can use the script file to start the GUI) to configure our virtual machine. The main settings are these:


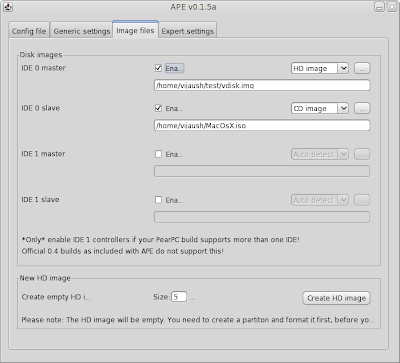
and the settings for the Installation DVD and virtual disk image


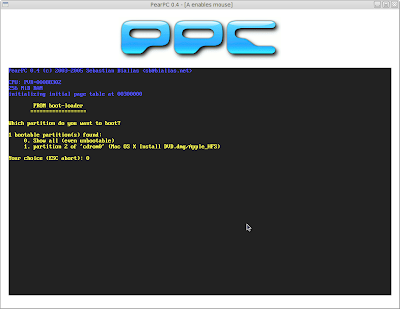
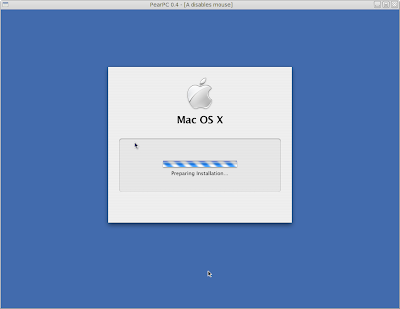
After completing these settings go back to the 'Config file' tab and click on 'Save config and start PearPC' button. This will bring up the emulator screen as follows:


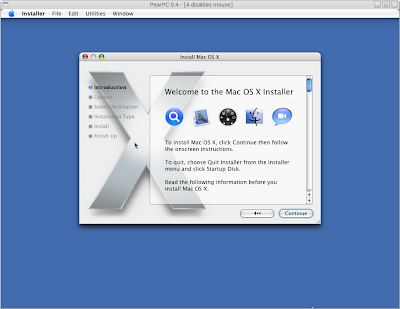
Select CDROM option and hit enter. This will start the Mac OS X installation program.


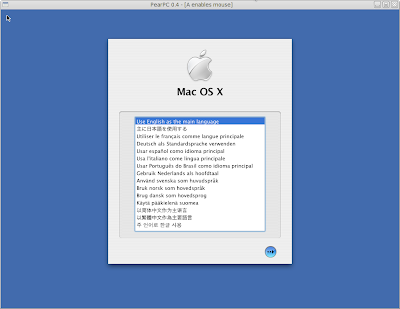
Next comes this


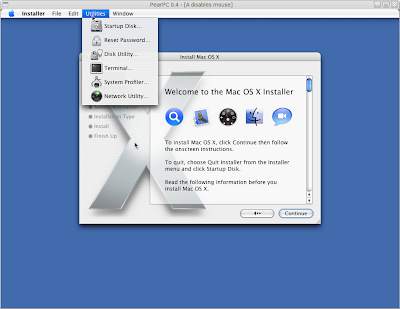
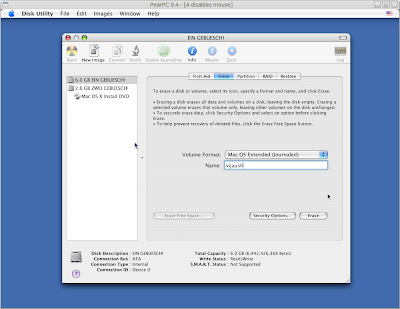
At this point we need to partition the virtual disk drive. So Goto Utilities > Disk Utility


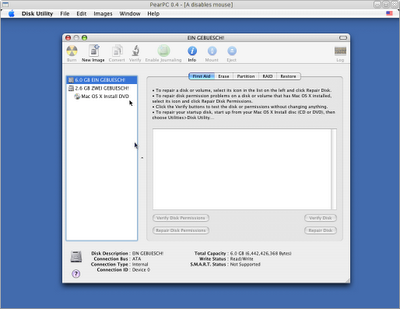
This will bring you to this screen


The first one is the virtual disk, We need to format it. Remember to format the partition as "Mac OS Extended (journaled)" otherwise you will not be able to boot from that partition. I had done this mistake once; I formatted the partition as "Unix filesystem" and I was not able to boot from the virtual disk.


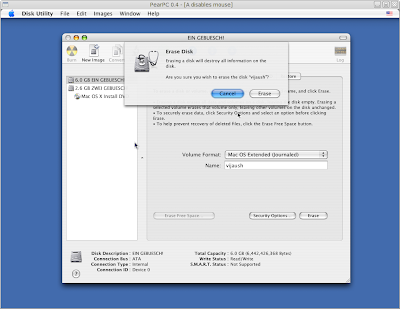
confirm to delete the existing data and format it.


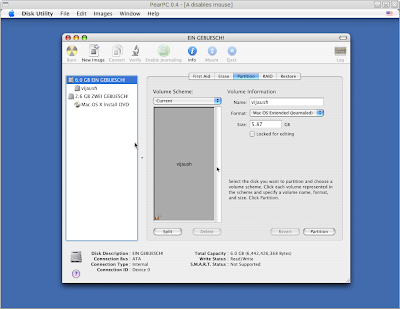
After the format it will show you this screen. You will have a partition in the virtual disk.


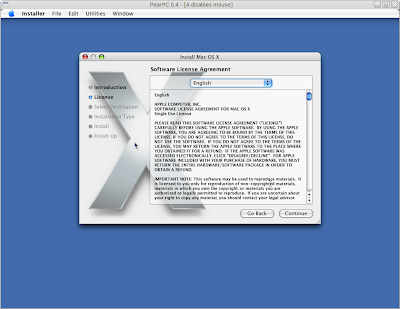
After the partition is created on the virtual disk, we can now proceed with the installation program. You can just close the 'Disk Utility' application.


Select the language of the installation and click 'Continue'


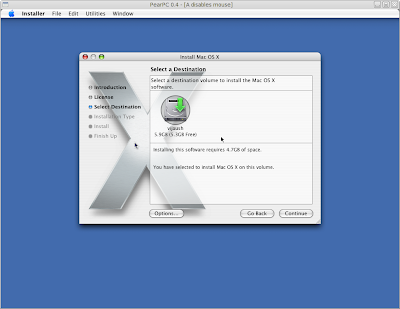
Now select the disk and proceed with the installation.


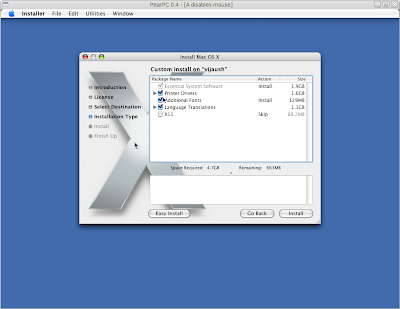
Here you can 'Customize' the packages that will be installed on the system. Click Install to continue with the installation.


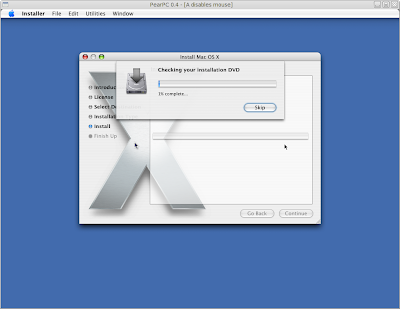
The installer will check for the integrity of the install DVD. You can skip this step if you want.
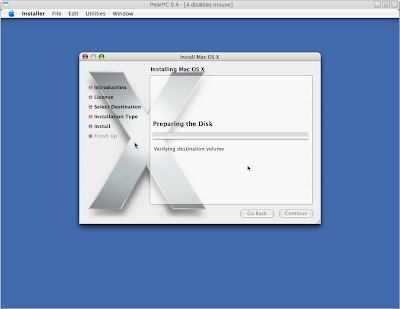
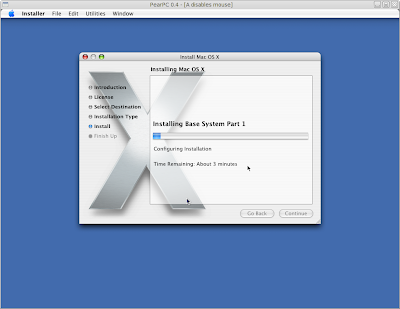
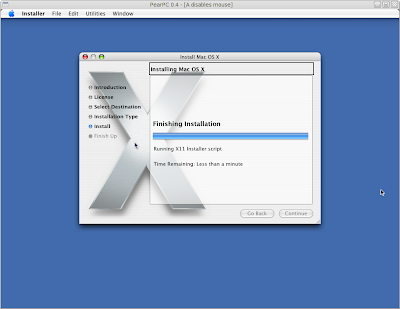
After this the installation begins:


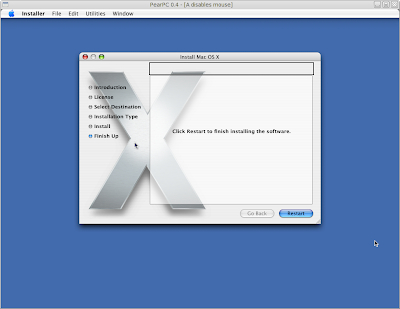
After this Restart the PearPc emulator.


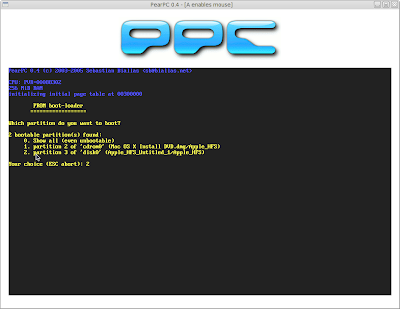
You can see, there is an additional entry "to boot from the virtual disk". Select the option to boot from the disk, and we are good to go :)


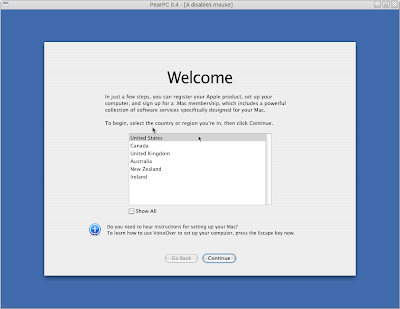
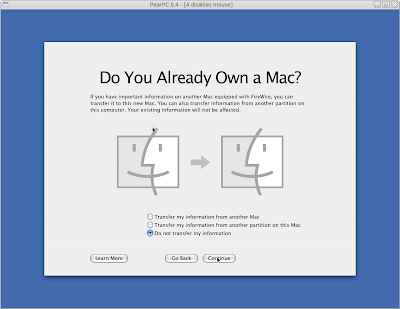
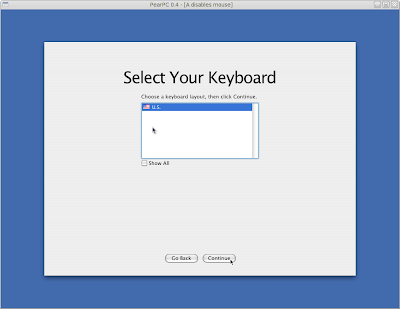
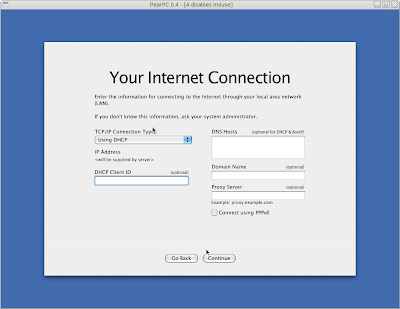
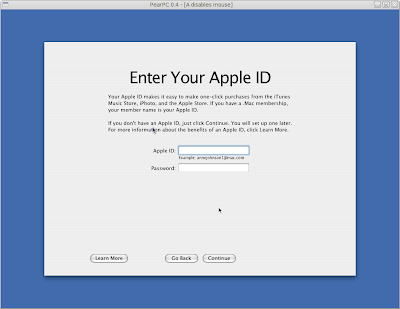
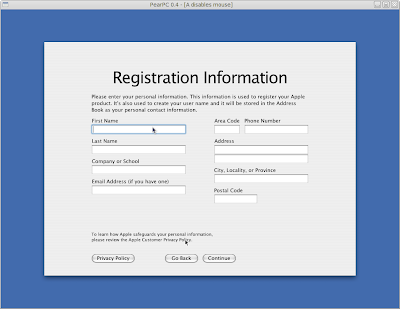
This will bring us to the welcomes screen. Complete all the initial setup and create a user account.


And here we are, at the Desktop. I followed the tutorial at the PearPC wiki and finally got my virtual machine connected to the Internet.
Here is the tutorial: http://wiki.pearpc.net/index.php?title=Networking

And the final screen shot


Looks good !!

Isn't it !! :)